
Routes & shapes
Routes are defined before stops in GTFS·X. The alignment is the most consequential design choice in a transit service, so the editor's workflow locks in the path first, then places stops along it. Each route can have multiple shape variants — typically one per direction of travel.
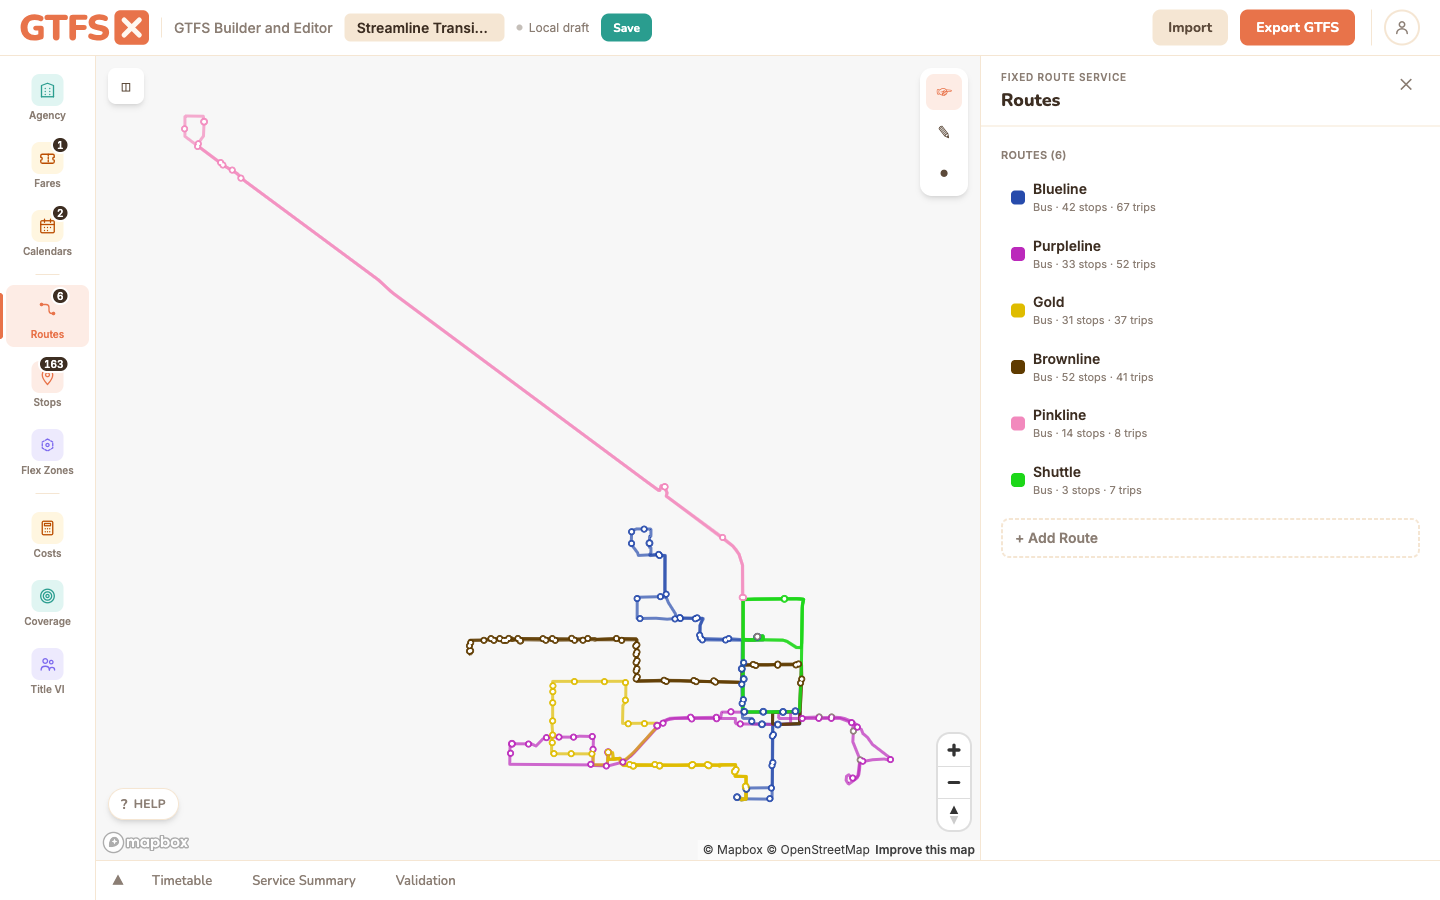
Creating a route
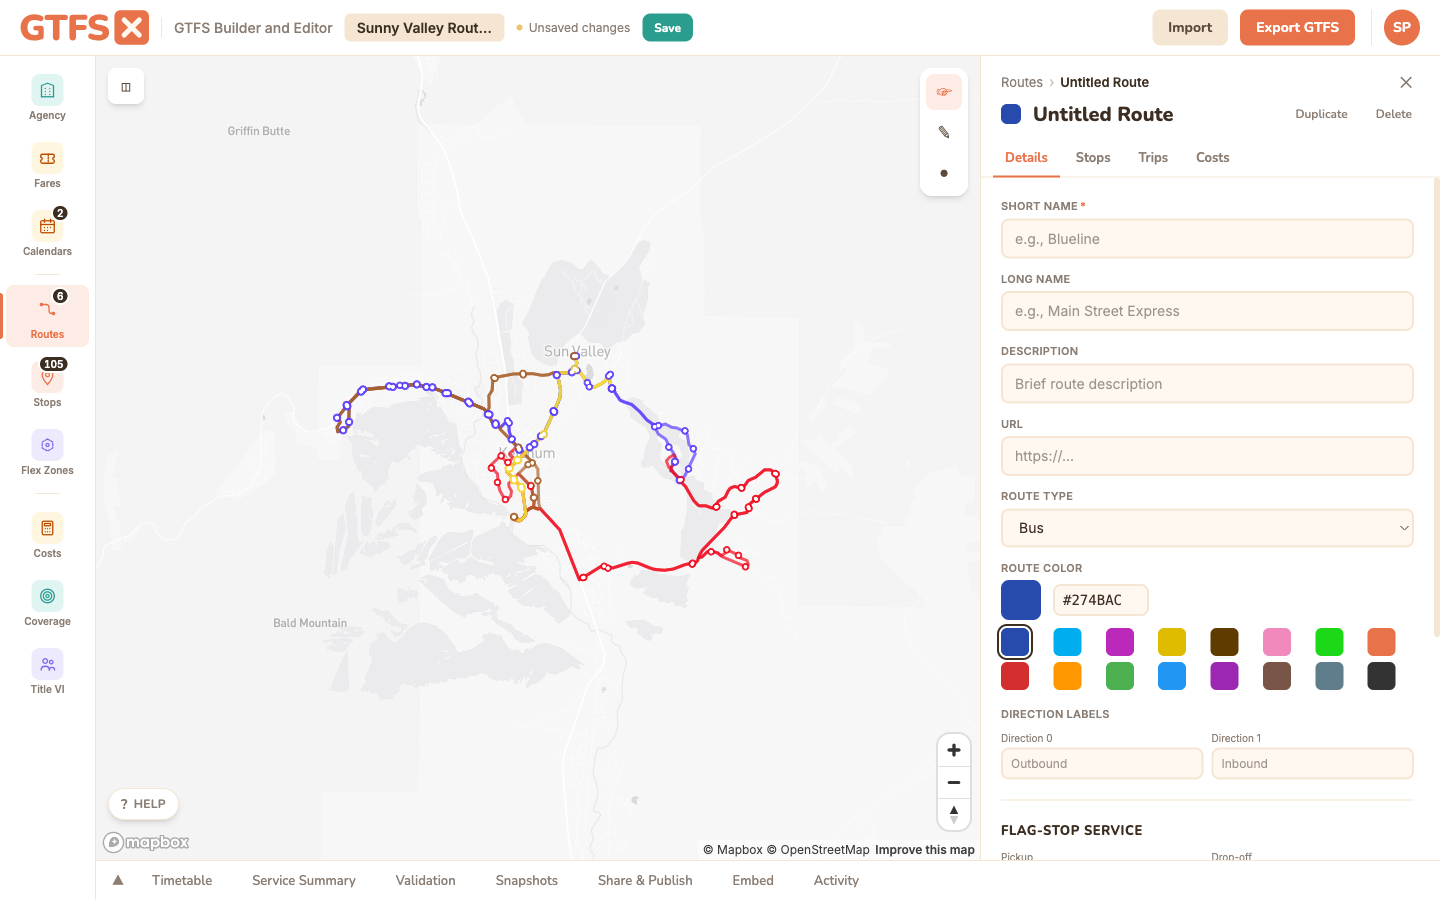
Click Routes in the sidebar, then Create Route. Fill in:
- Short name (
route_short_name) — the public-facing identifier riders use. "5", "Rapid", "1A". Keep it short; long short_names break trip planner UIs. - Long name (
route_long_name) — the descriptive name. "Downtown Express", "Cherry Creek Connector". Usually a corridor or pair of endpoints. - Color — the route's brand color, used by the map and by trip planner UIs that visualize routes. Pick something distinguishable from the basemap and from other routes.
- Route type — bus (3), light rail (0), subway (1), rail (2), ferry (4), cable car (5), aerial lift (6), funicular (7). The GTFS extended route types are supported on import / export but not surfaced in the editor's dropdown today.
- Agency — only relevant for multi-agency feeds; auto-selects the only agency otherwise.
Drawing the route
Click Draw Route Shape, then click on the map to place vertices along the alignment. Double-click to finish. The drawing tool has two modes:
- Snap to road (default): each segment uses the Mapbox Map Matching API to follow the road network. Click two intersections and the line follows the actual road geometry, not the straight line between them. Best for fixed-route bus and most rail. Snap-to-road occasionally picks the wrong road at complex intersections; drop an intermediate vertex to disambiguate.
- Freehand: each segment is a straight line from click to click. Useful for off-road segments, ferry routes, light rail running in its own ROW that isn't in the road graph, or sketching alignments that don't yet have a road.
To edit an existing shape: click the route in the sidebar, open its Shapes tab, and click Edit Shape on the one you want. Drag any vertex to move it, click between two vertices to insert a new one, select-and-Delete to remove, then Save (or Cancel to discard). The same row carries the rest of the per-shape tools: Simplify (reduces vertex count with the Douglas-Peucker algorithm — useful when a snap-to-road shape has more vertices than you need), Trim, re-Snap, Duplicate (see below), a visibility toggle, and delete.
You can also jump straight in from the map: clicking a route line opens a popup with Edit Route, Edit Stops (opens the route's Stops sub-panel), and a timetable shortcut, plus a pencil icon to edit the clicked shape directly. Handy when you've spotted something on the map and want to fix it without hunting through the sidebar.
Multiple shape variants
Most routes need at least two shapes: one for the outbound direction, one for inbound. The two often differ because one-way streets, turn restrictions, or stop pairs offset across the road force the bus to take slightly different paths each direction.
In the editor, the direction picker at the top of the route's shape panel toggles between direction 0 and direction 1. Draw separate shapes for each — they share the route_id but get distinct shape_ids on export. Each trip in the timetable then references the shape_id that matches its direction.
Loops and branches are also supported: a single direction can have multiple shape variants if the route runs different paths at different times of day (a peak express variant, a weekend deviation, etc.). The editor surfaces these as additional shapes under the same route.
When a route has several shapes, give them names so you can tell them apart at a glance. Each shape in the Shapes tab has an editable name field — type something like "Outbound — express" or "Weekend deviation" and it sticks with that shape. The name is an editor convenience for keeping variants straight; the exported feed still keys everything on the generated shape_id. Those names are also what the timetable's pattern dropdown and the Stops sub-panel show, so naming variants pays off the moment you have more than one per direction.
Each shape owns its own stops
Stops are keyed per shape, not per direction. A route's outbound-express shape and its outbound-local shape can serve different stop lists, in a different order, even though both are "direction 0". This is what lets a short-turn variant visit a subset of the line, or an express skip the locals — the stops belong to the shape, not the whole route.
The Stops sub-panel (on the route's detail panel, and via Edit Stops below) follows the same selector as the timetable: a shape dropdown that lists each shape by name, so you place and reorder stops for the shape you've selected. Pick the shape first, then add or drag its stops.
Duplicating a shape (with options)
The per-shape Duplicate button clones a shape's geometry into a new shape on the same route, and opens a small options popover:
- Reverse vertex order (for the opposite direction) — flips the cloned vertices end-to-end and re-sequences them, so the copy runs the other way. This is the fast path for building the inbound shape from the outbound one when the return path is essentially the same road.
- Copy stops — also copies the source shape's stops onto the new shape. When "Reverse" is on, the copied stops are reversed to match the flipped geometry (the checkbox label updates to "Copy stops (reversed to match)"). Leave it off to start the copy with an empty stop list.
The duplicate also gets a minimal stub trip (same direction, service, and headsign with "(copy)" appended) so the new shape shows up immediately as a pattern you can edit in the timetable — reassign or rename it there. The typical move is draw outbound → duplicate with reverse + copy stops → refine the inbound path, which gets you both directions in a couple of clicks instead of redrawing.
Picking a route type
The GTFS spec defines eight basic route types: bus (3), light rail (0), subway (1), rail (2), ferry (4), cable car (5), aerial lift (6), funicular (7). Pick the one that matches the rider's experience, not the operator's classification. A "bus rapid transit" service stays type=3 (bus); it's marketed as rail-like but legally still a bus. A "trolley" running on rails is light rail (0); a "trolley bus" running on rubber tires with overhead wires is bus (3).
For services that don't fit cleanly (an aerial gondola on a transit network, a Brightline-style intercity train), the spec defines an extended set of route types in the 100–1700 range. The editor preserves these on import/export but doesn't expose them in the dropdown — for now, edit the imported value through the JSON inspector if you need one.
Edge cases and gotchas
- Snap-to-road needs an internet connection. The Map Matching API call is online. If you're editing offline, switch to freehand or pre-trace alignments while online.
- Vertex count costs you nothing in the spec, but high counts slow the editor. If a shape has 2,000+ vertices, Simplify it — most rider-facing apps draw the line at low zoom anyway and won't see the difference.
- Don't snap-to-road through private property. Routes through a bus depot, a college campus, or a hospital ring road won't be in the public road graph and snap-to-road will route around them. Use freehand for those segments.
- Color contrast matters. Two routes with similar colors get confused on the map; pick complementary hues for routes that overlap.
See also
- Stops — placed along the route after the shape is drawn.
- Timetables & trips — every trip references a route and a shape; the pattern dropdown picks which shape you schedule.
- Route visibility — hide and show routes from this panel to scope the analysis panels.
- Flex zones — for demand-responsive service, not fixed alignments.